Search Knowledge Base by Keyword
Salesforce
Summary
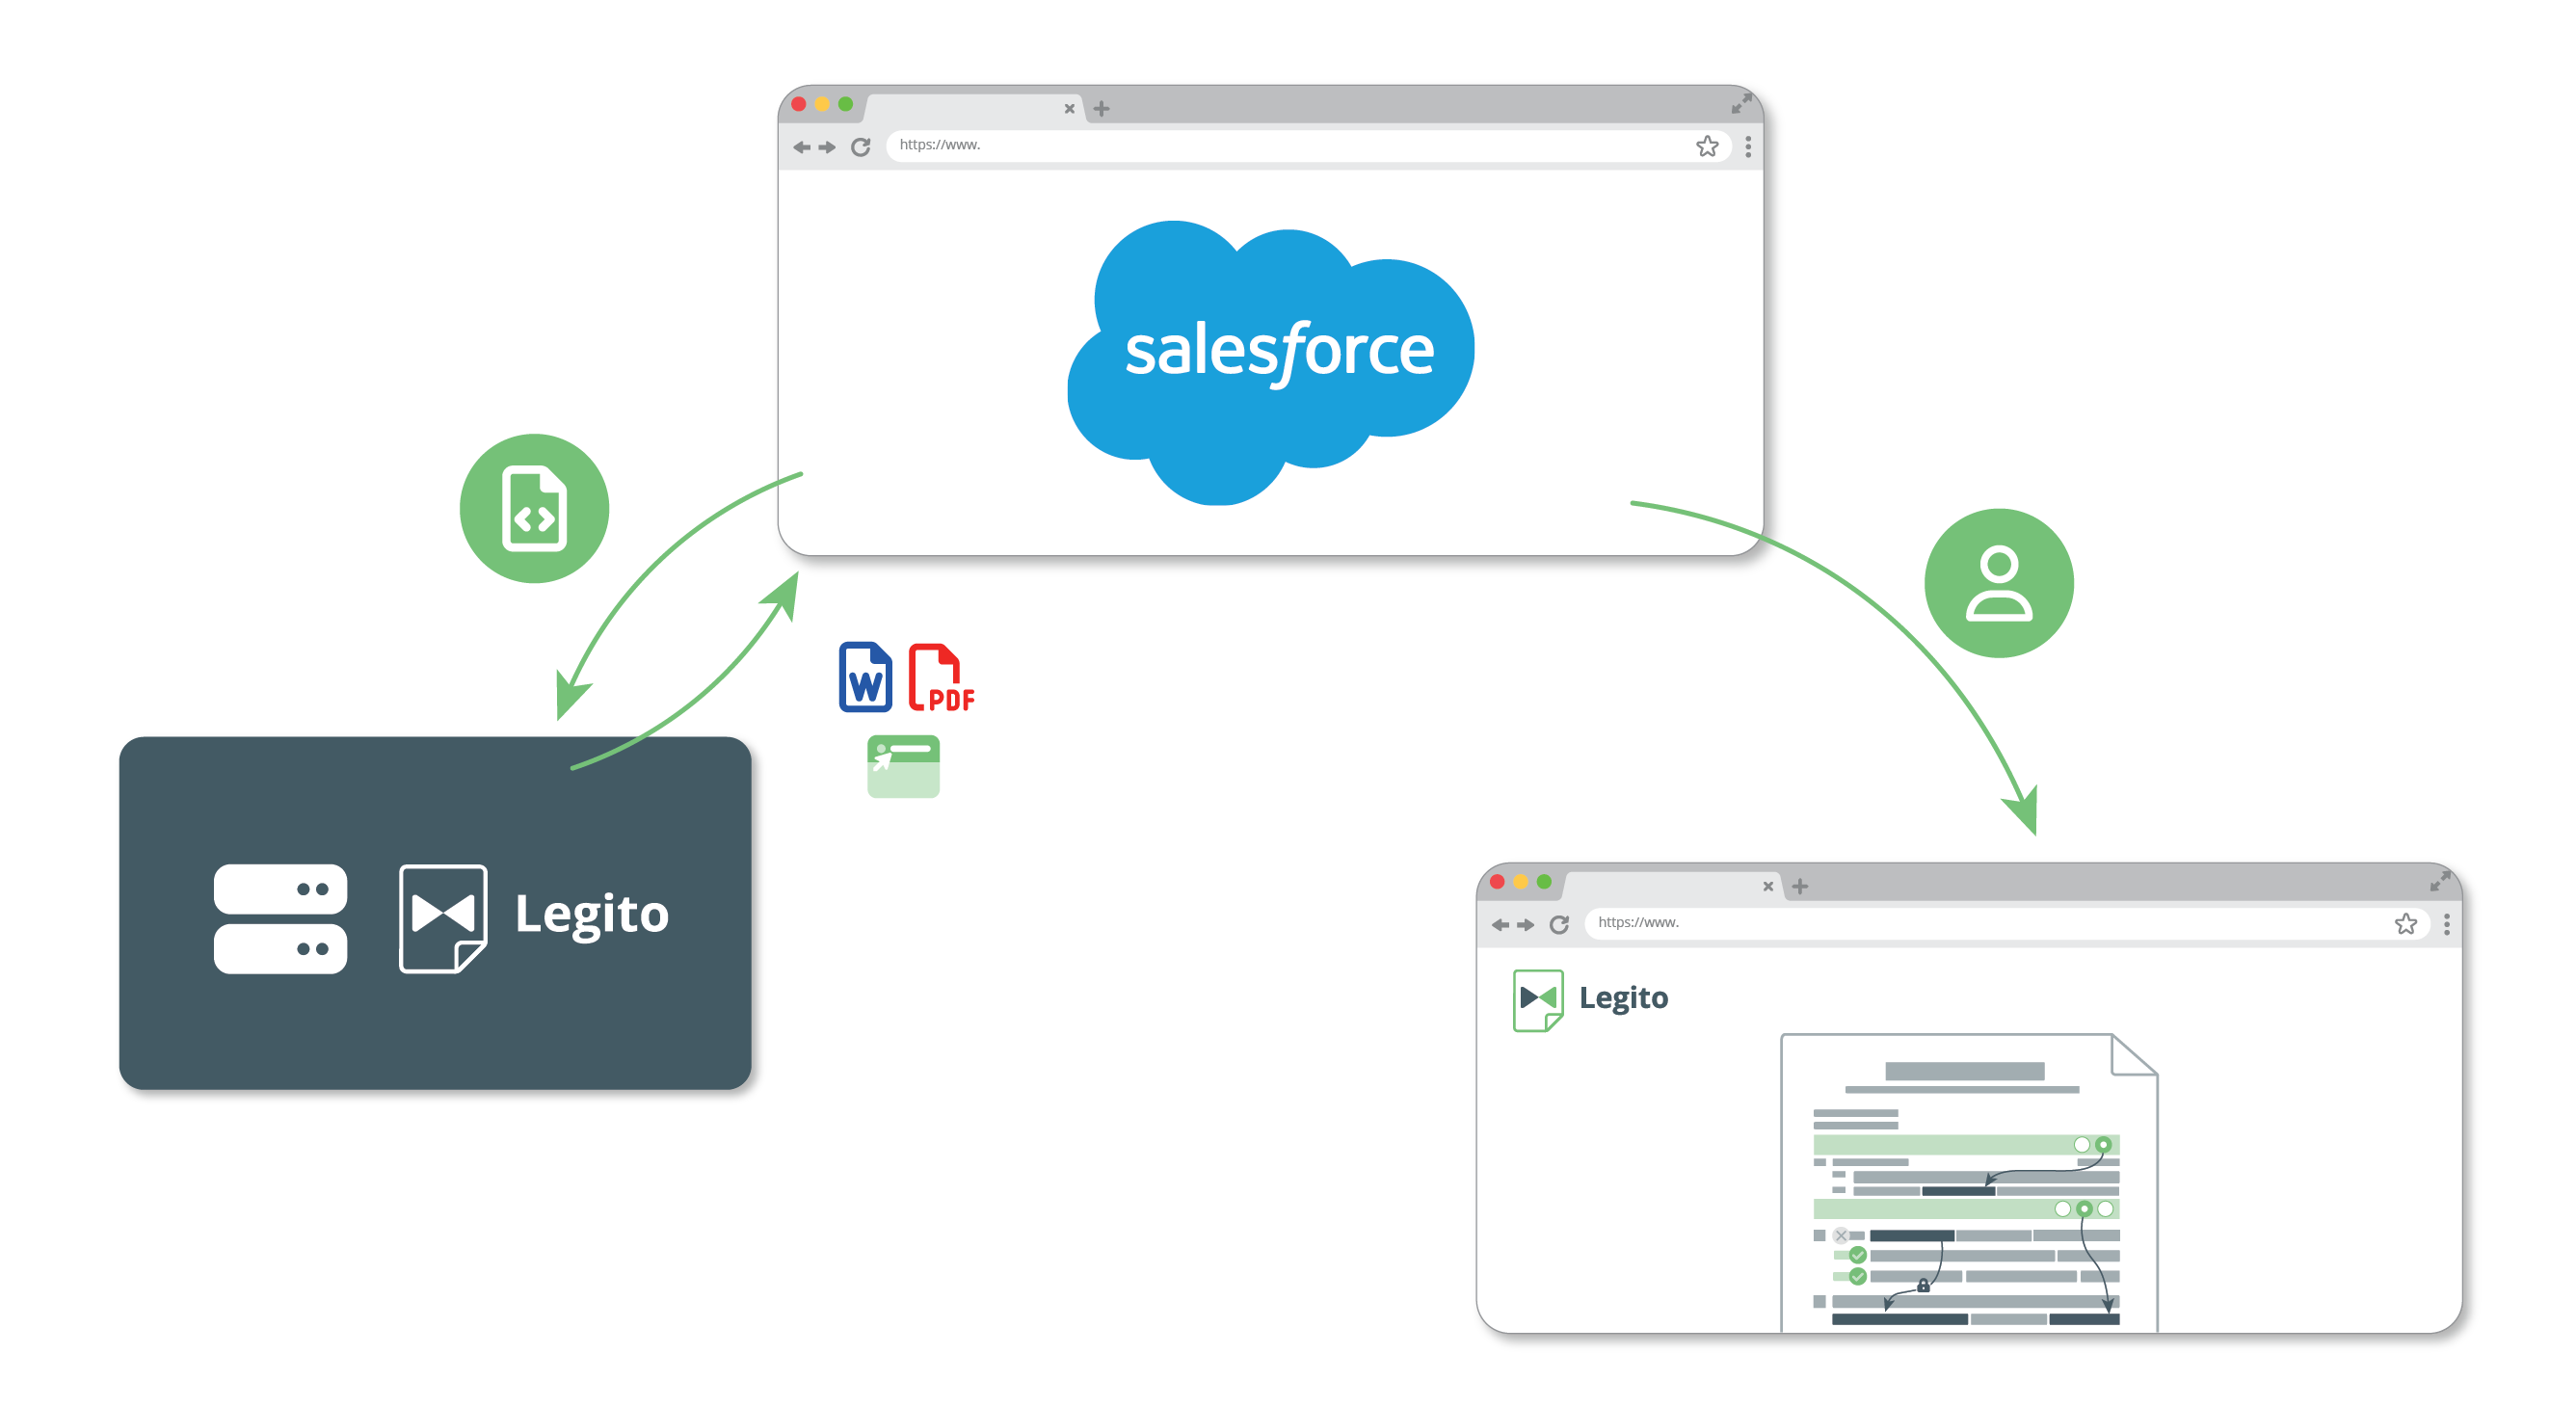
Legito add-on for Salesforce is a Salesforce component that pulls data from Salesforce and applies it to document templates automated in the Legito platform to generate Word or PDF documents, upload the documents to Salesforce, and/or add a link to the Legito Document for users to continue creating the documents in Legito.
Legito add-on for Salesforce is not a stand-alone application, but an extension of the Legito Workspace which allows for easy and smooth integration between Legito and Salesforce accounts.
End User Experience
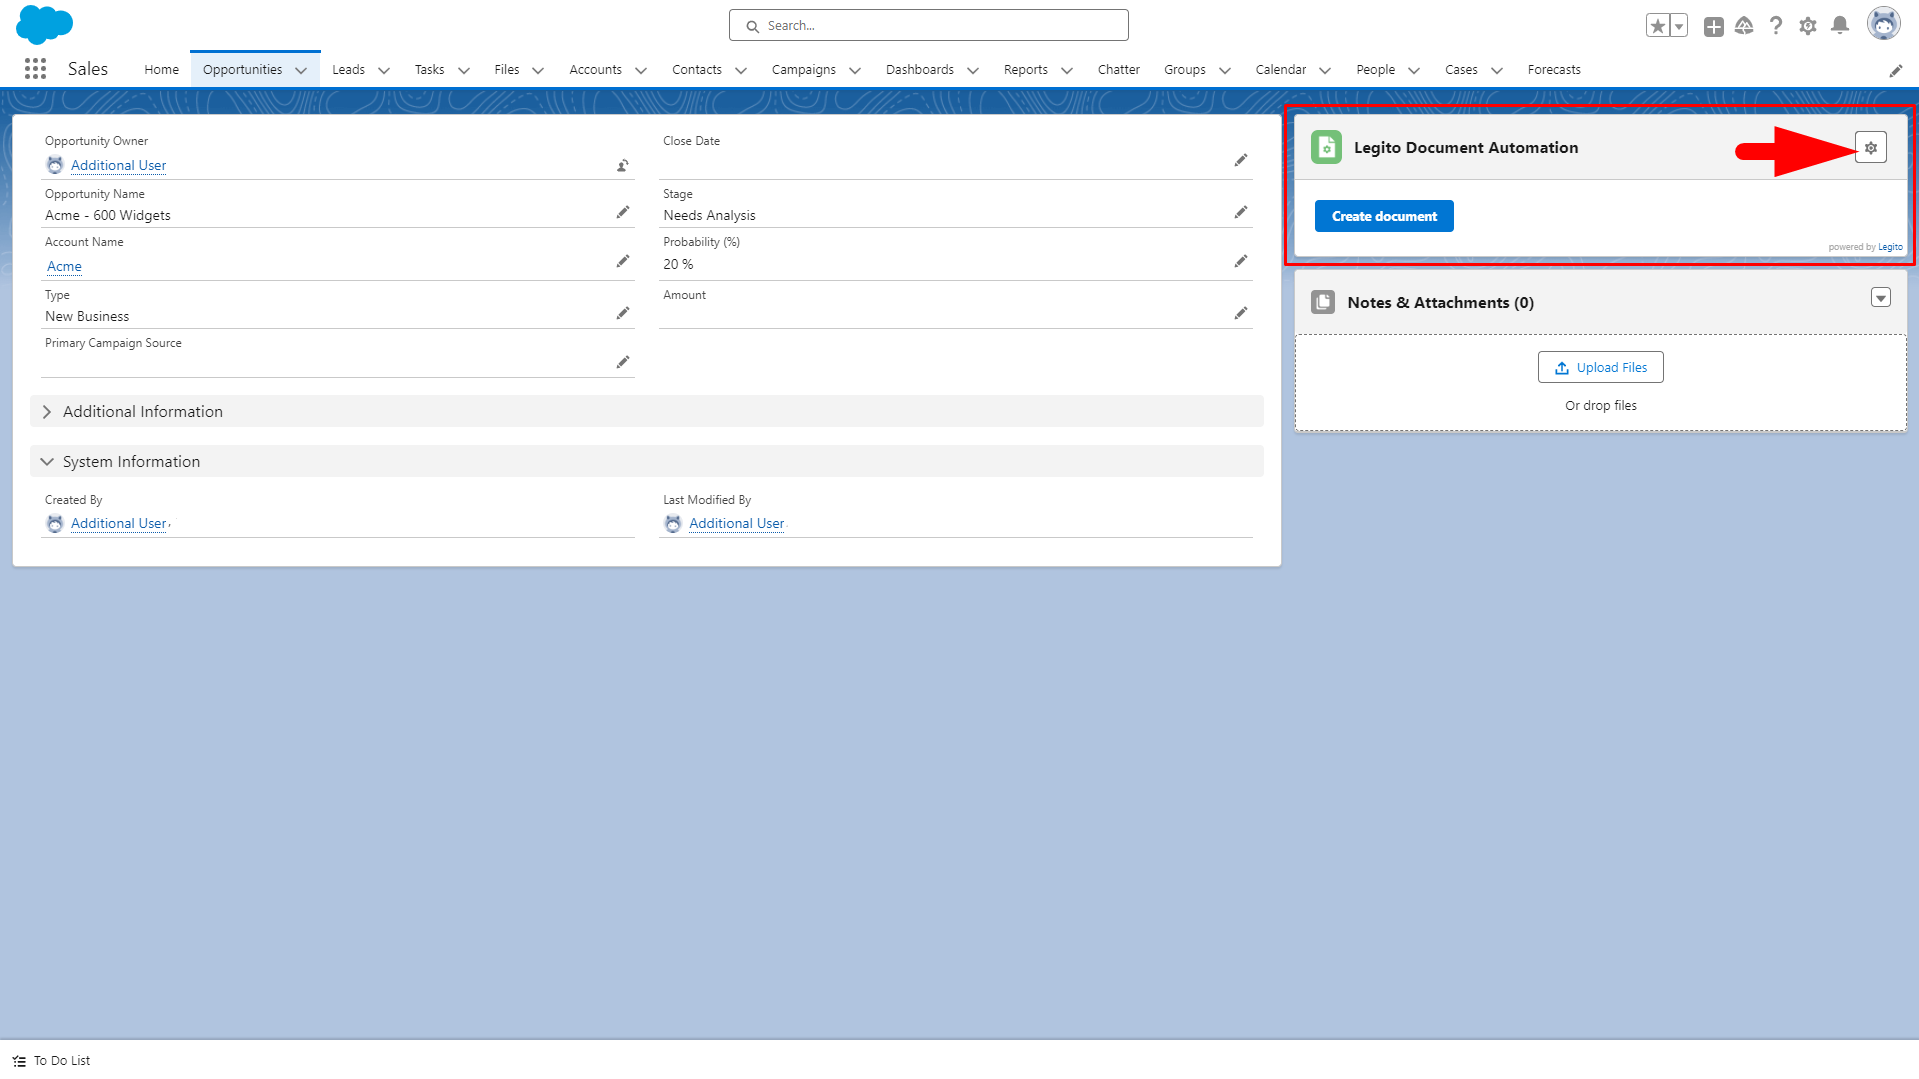
With the Legito Component, Salesforce users can simply click a button to Create a document directly from a Salesforce page (e.g. Opportunities) instantly generating PDF, Word, and/or Legito documents on the same Salesforce page. The whole process is seamless so users do not need to deviate from Salesforce.
Salesforce users do not need to have a Legito Workspace account if they are only generating Word or PDF documents via the add-on.
For more sophisticated use cases, where Salesforce data prefills documents but the documents still require more decision-making and editing, users can open Legito documents directly from Salesforce. In this case, Salesforce users need a Legito Workspace account. We would also recommend implementing Single Sign-on for a more seamless experience.
Adding Legito Component to Salesforce Lightning Page
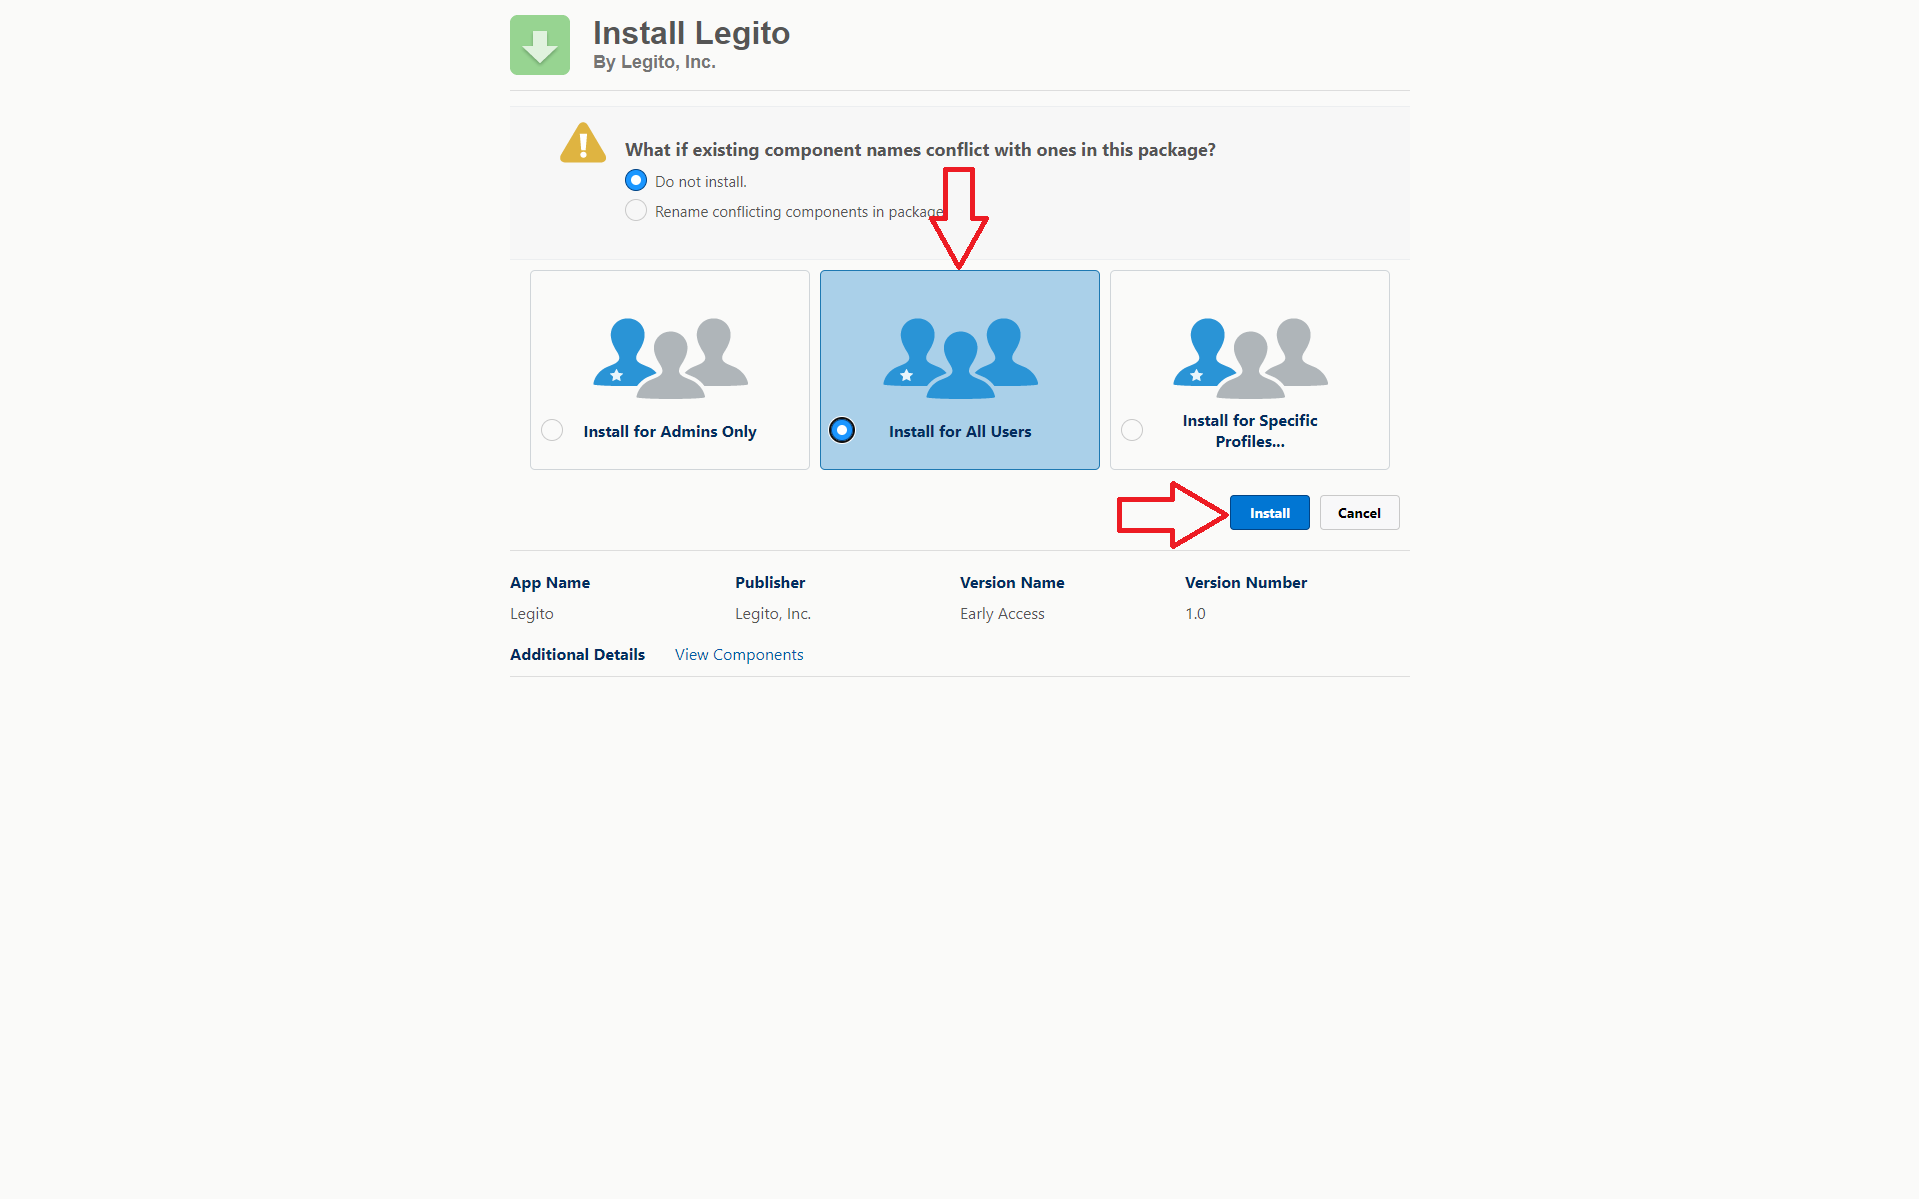
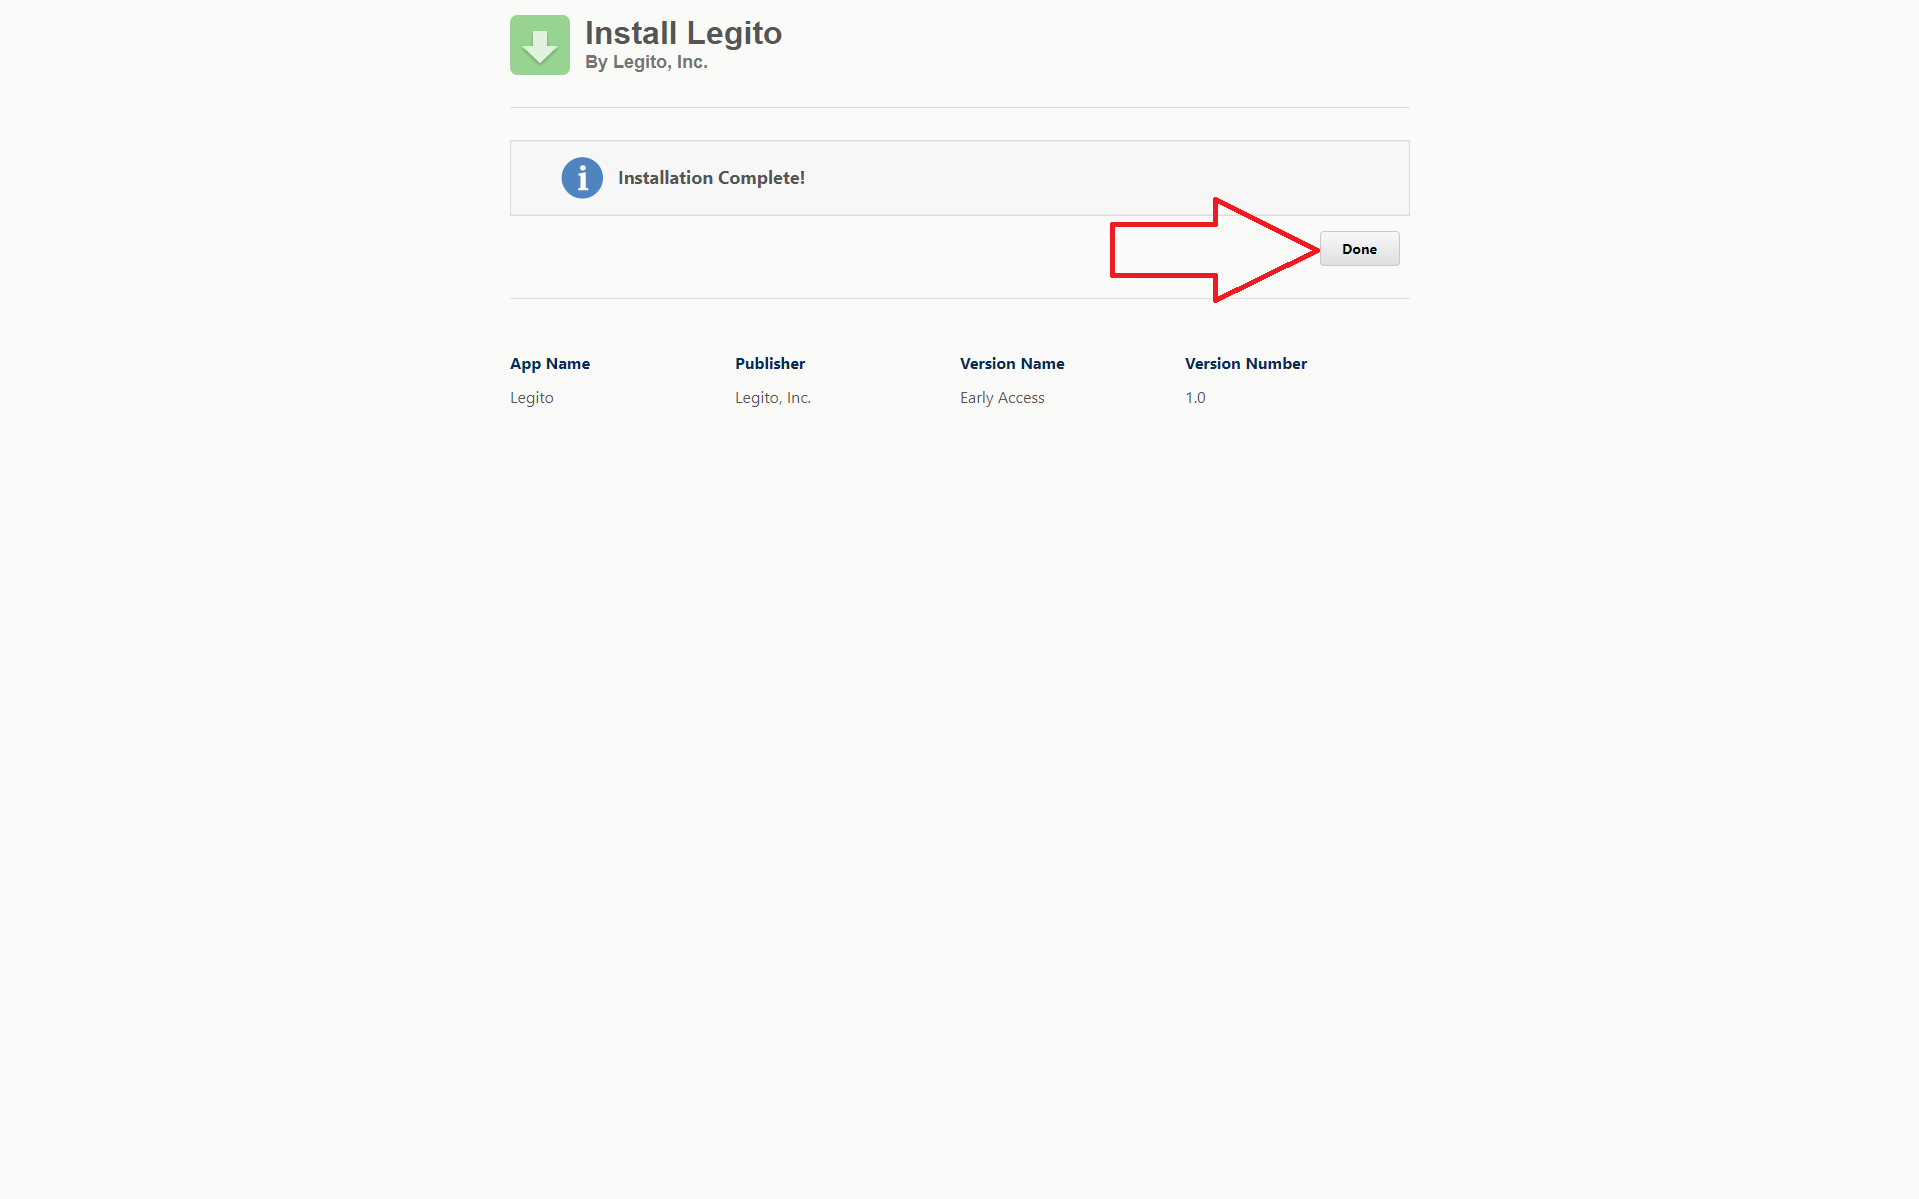
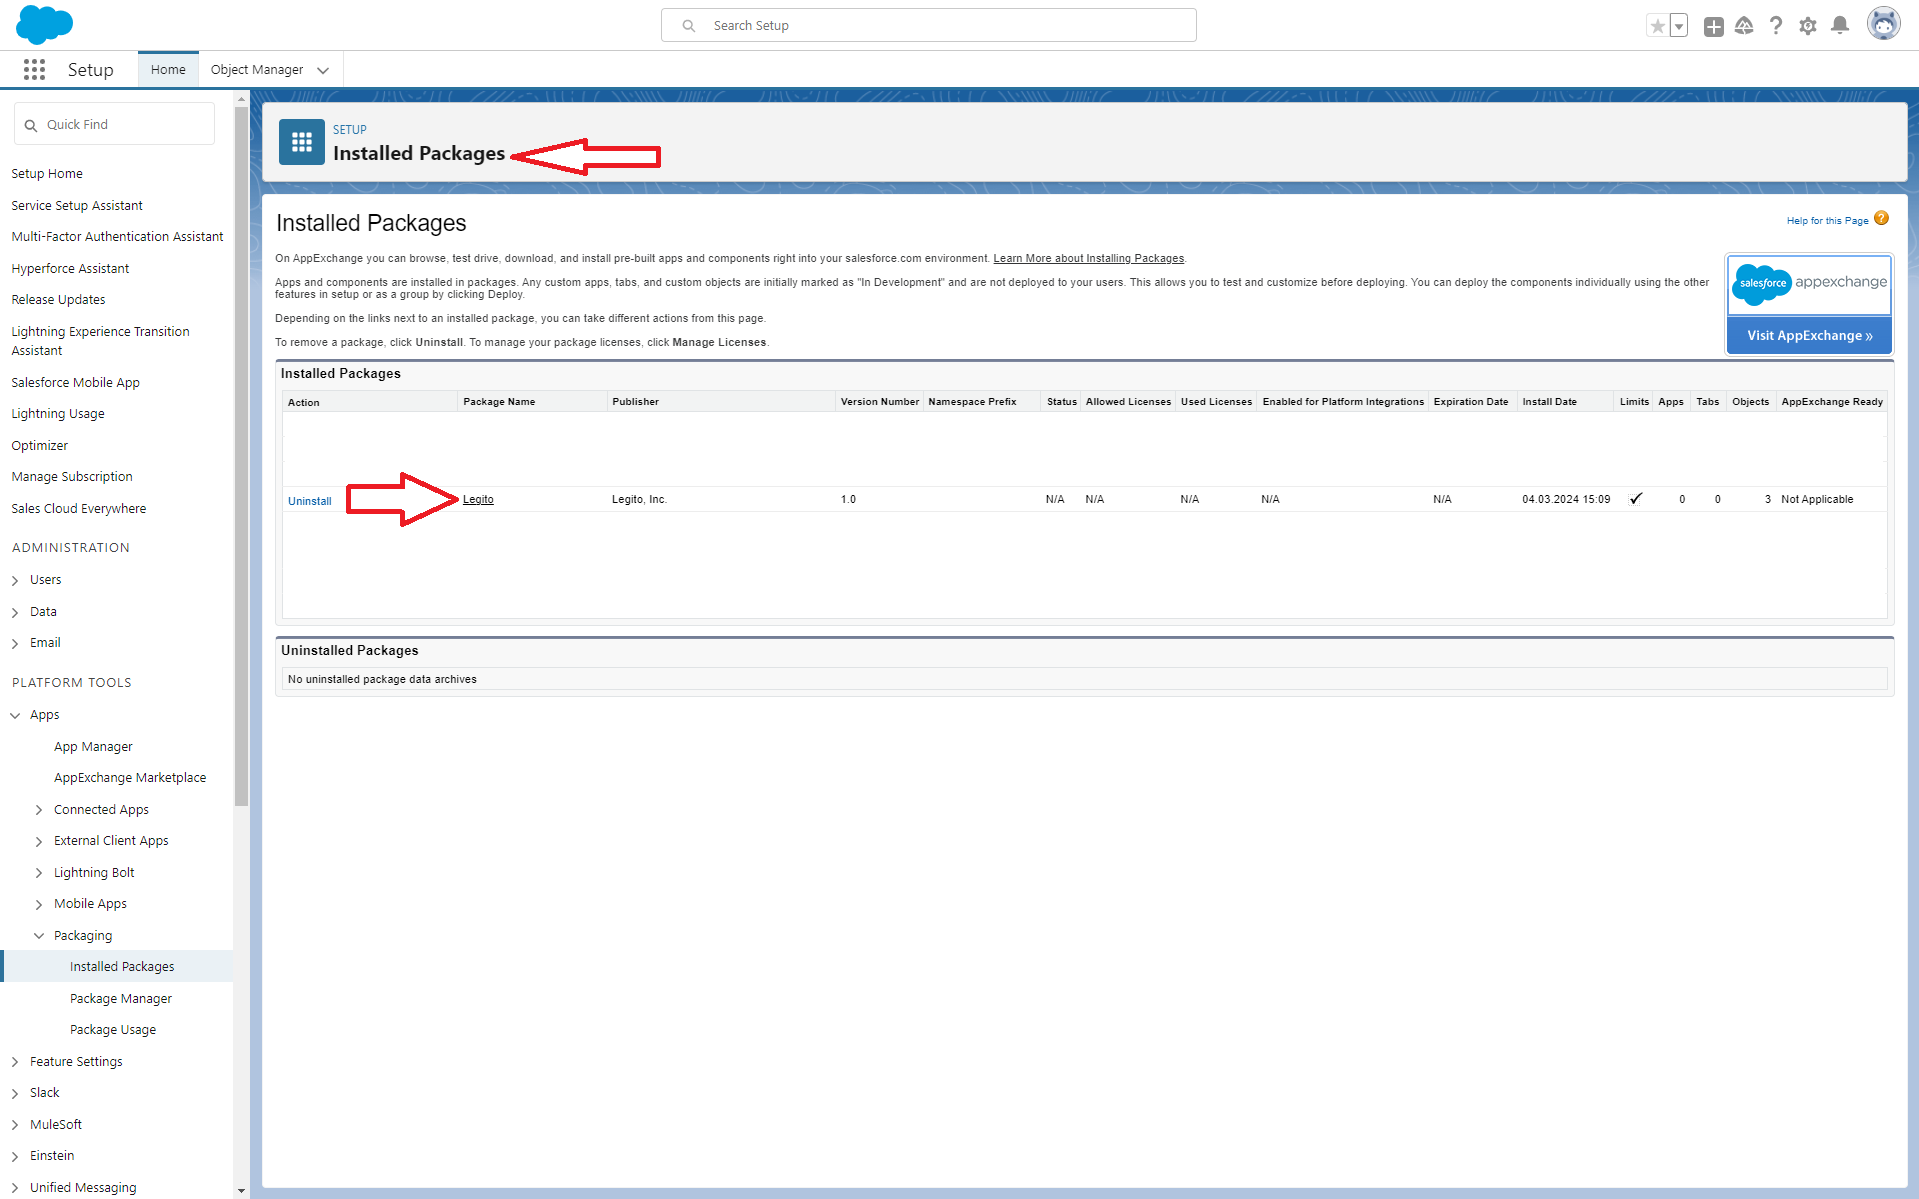
Add the Legito App to Salesforce using the following link:
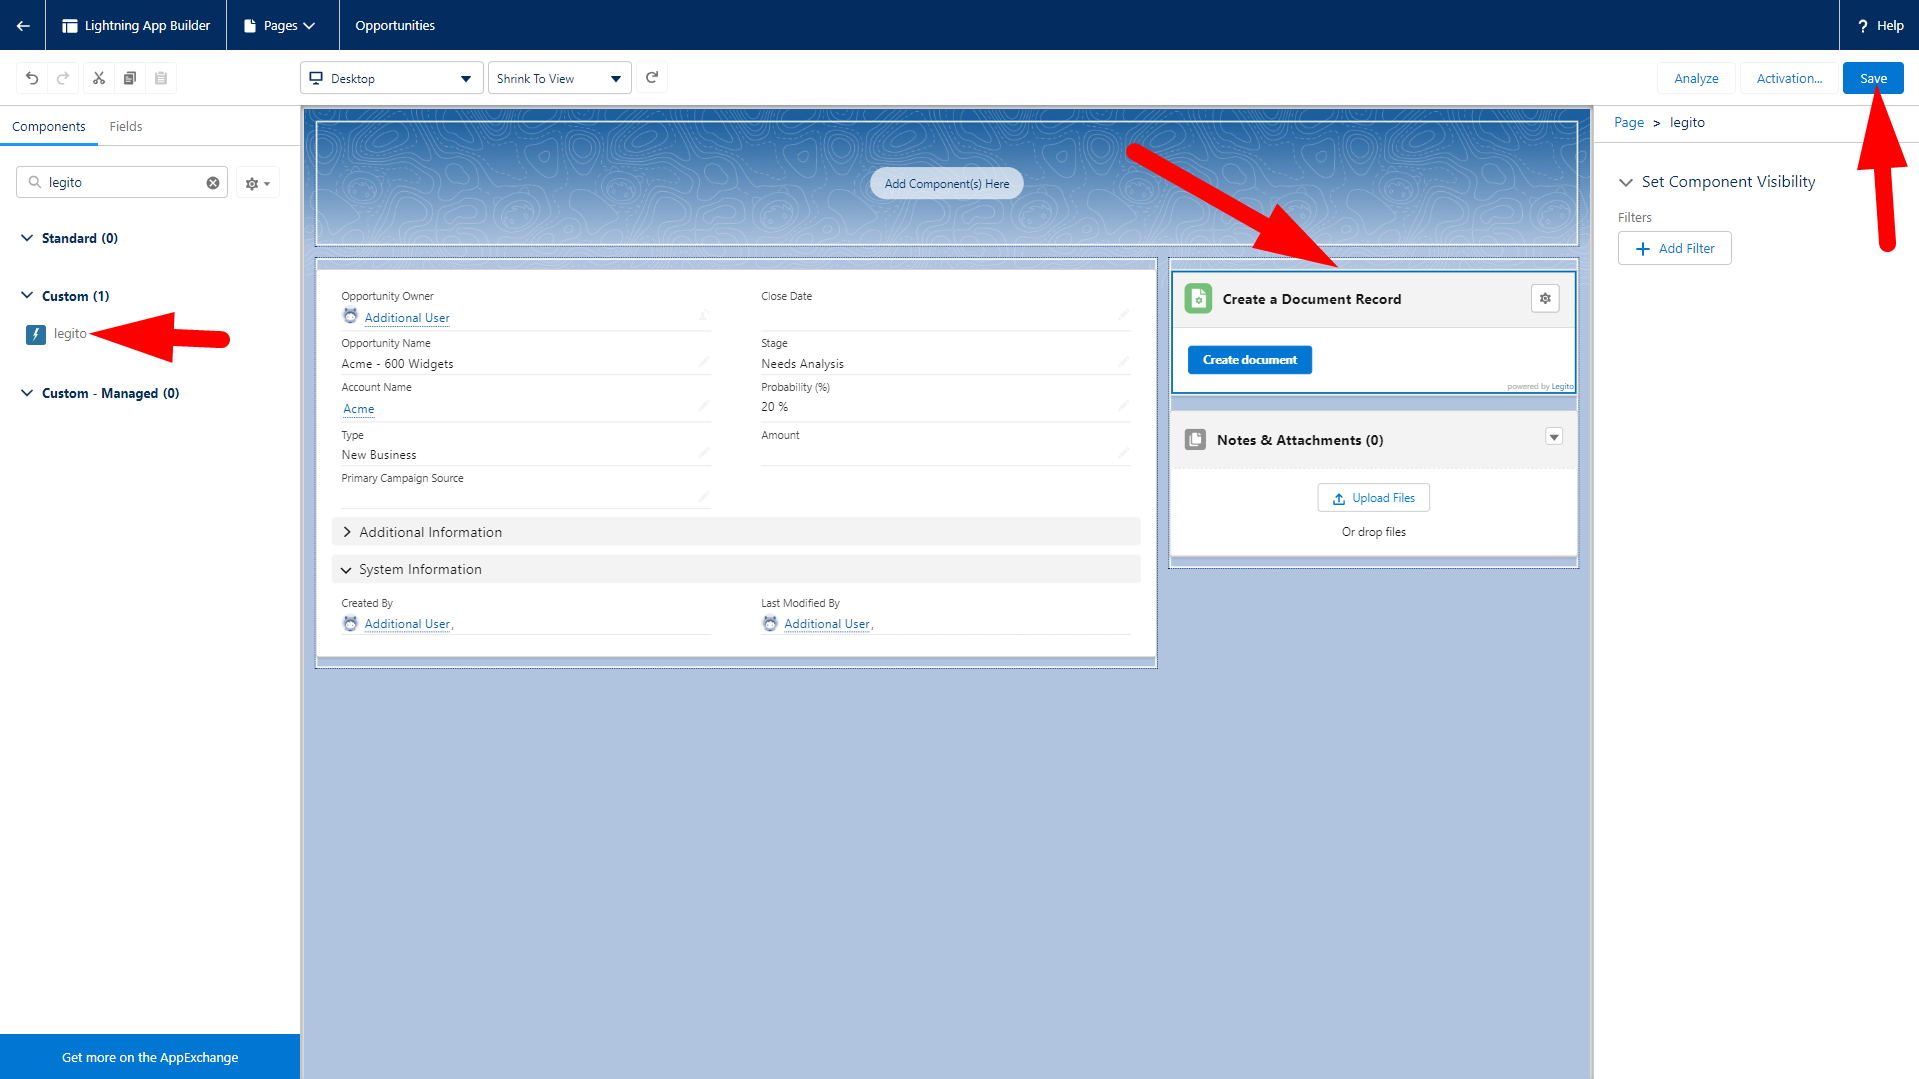
Then use the Lightning App Builder (learn more) to add the Legito Component to your Salesforce Lightning Page.
Go to the Lightning App Builder and edit the Lightning page you would like to add the Legito Component to, or you can create a new one. The Legito Component will generate documents using data from the Lightning page. Customers typically add the Legito Component to the Opportunities Page.
Add the Legito Component to the Salesforce Lightning page via drag and drop from the left menu bar.
Initial Component Set-up
Step 1: Set up the Legito Component
To open the Component setting, click on the cogwheel icon in the right upper corner of the Legito Component. This setting is available to administrators only.
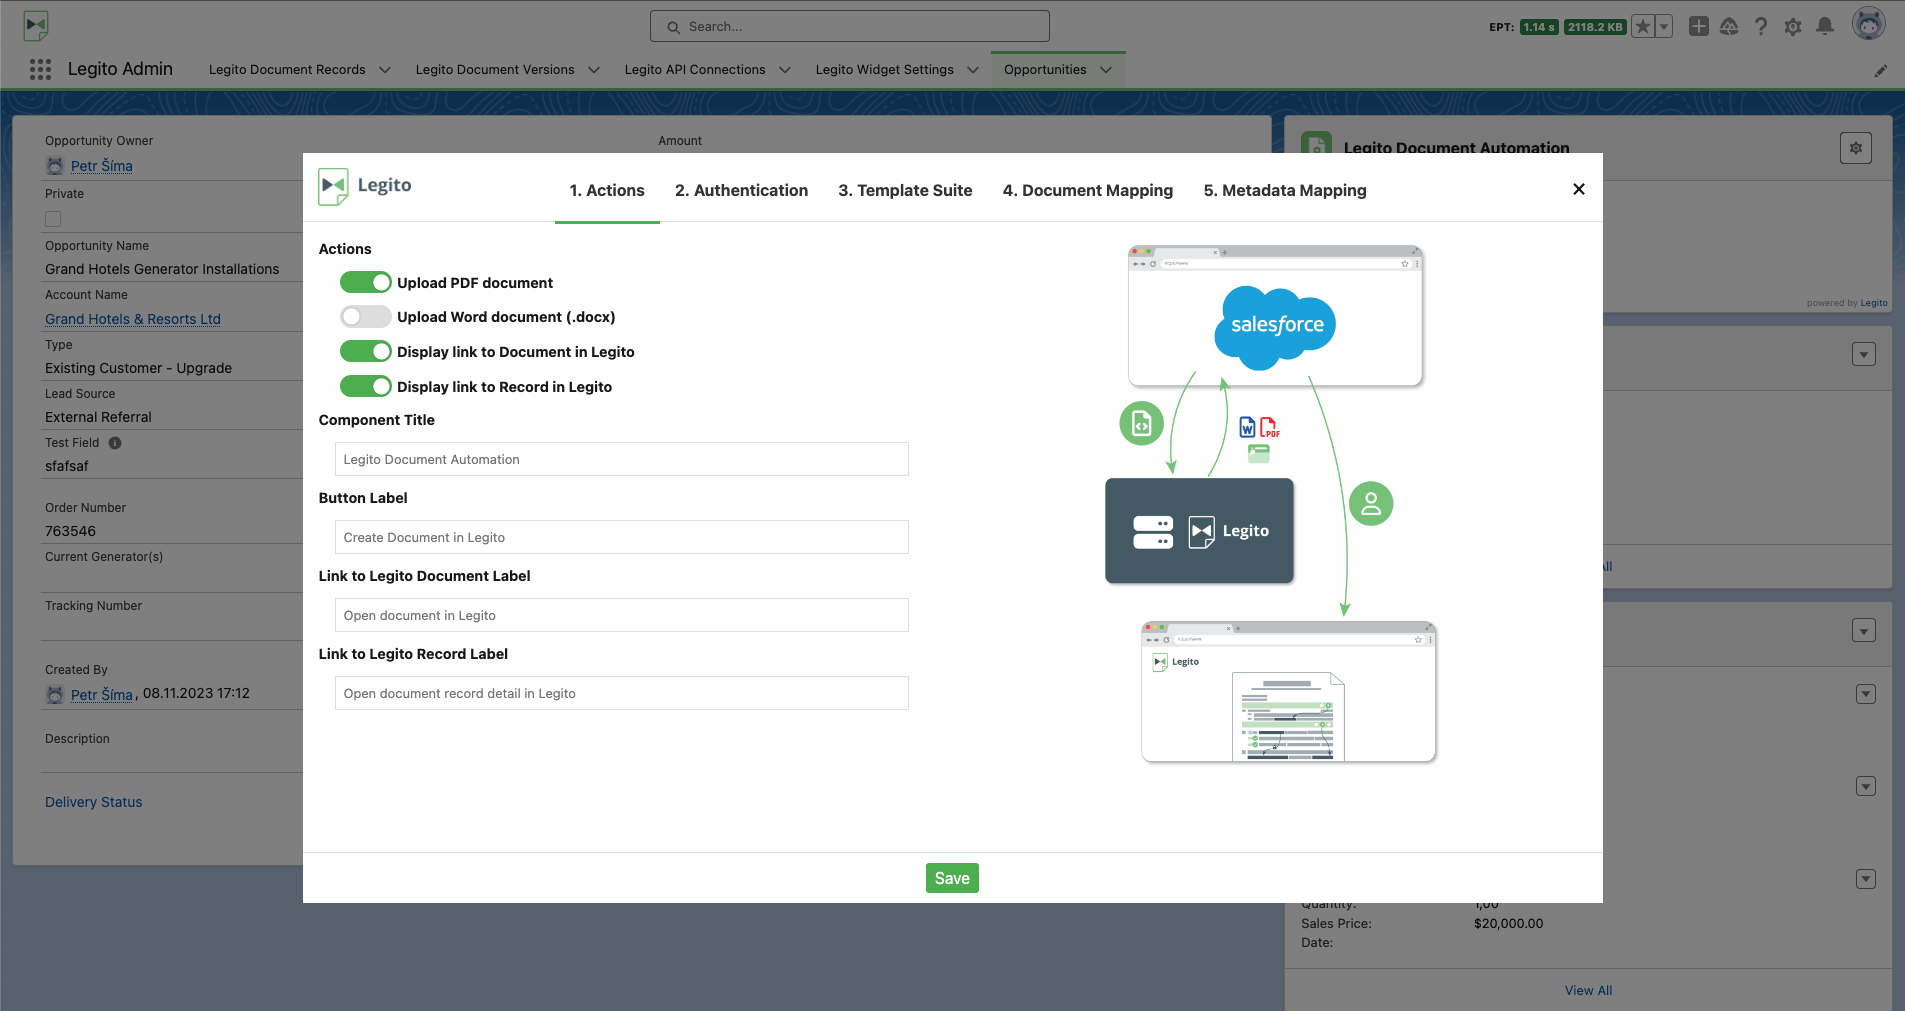
The Component setting is in a modal window divided into 4 tabs:
- Actions
- Authentication
- Template Suite
- Data Mapping
The Actions tab contains customization of the Component title, button name, link types, link labels, and actions.
When a user clicks the Create Document button in the Component, the following actions can be triggered:
- Generated documents in the Word (docx) format will be uploaded to Notes & Attachments of the Related List Component.
- Generated documents in PDF format will be uploaded to Notes & Attachments.
- The link to the Legito document will be displayed in the Component.
Step 2: Identify your Legito server
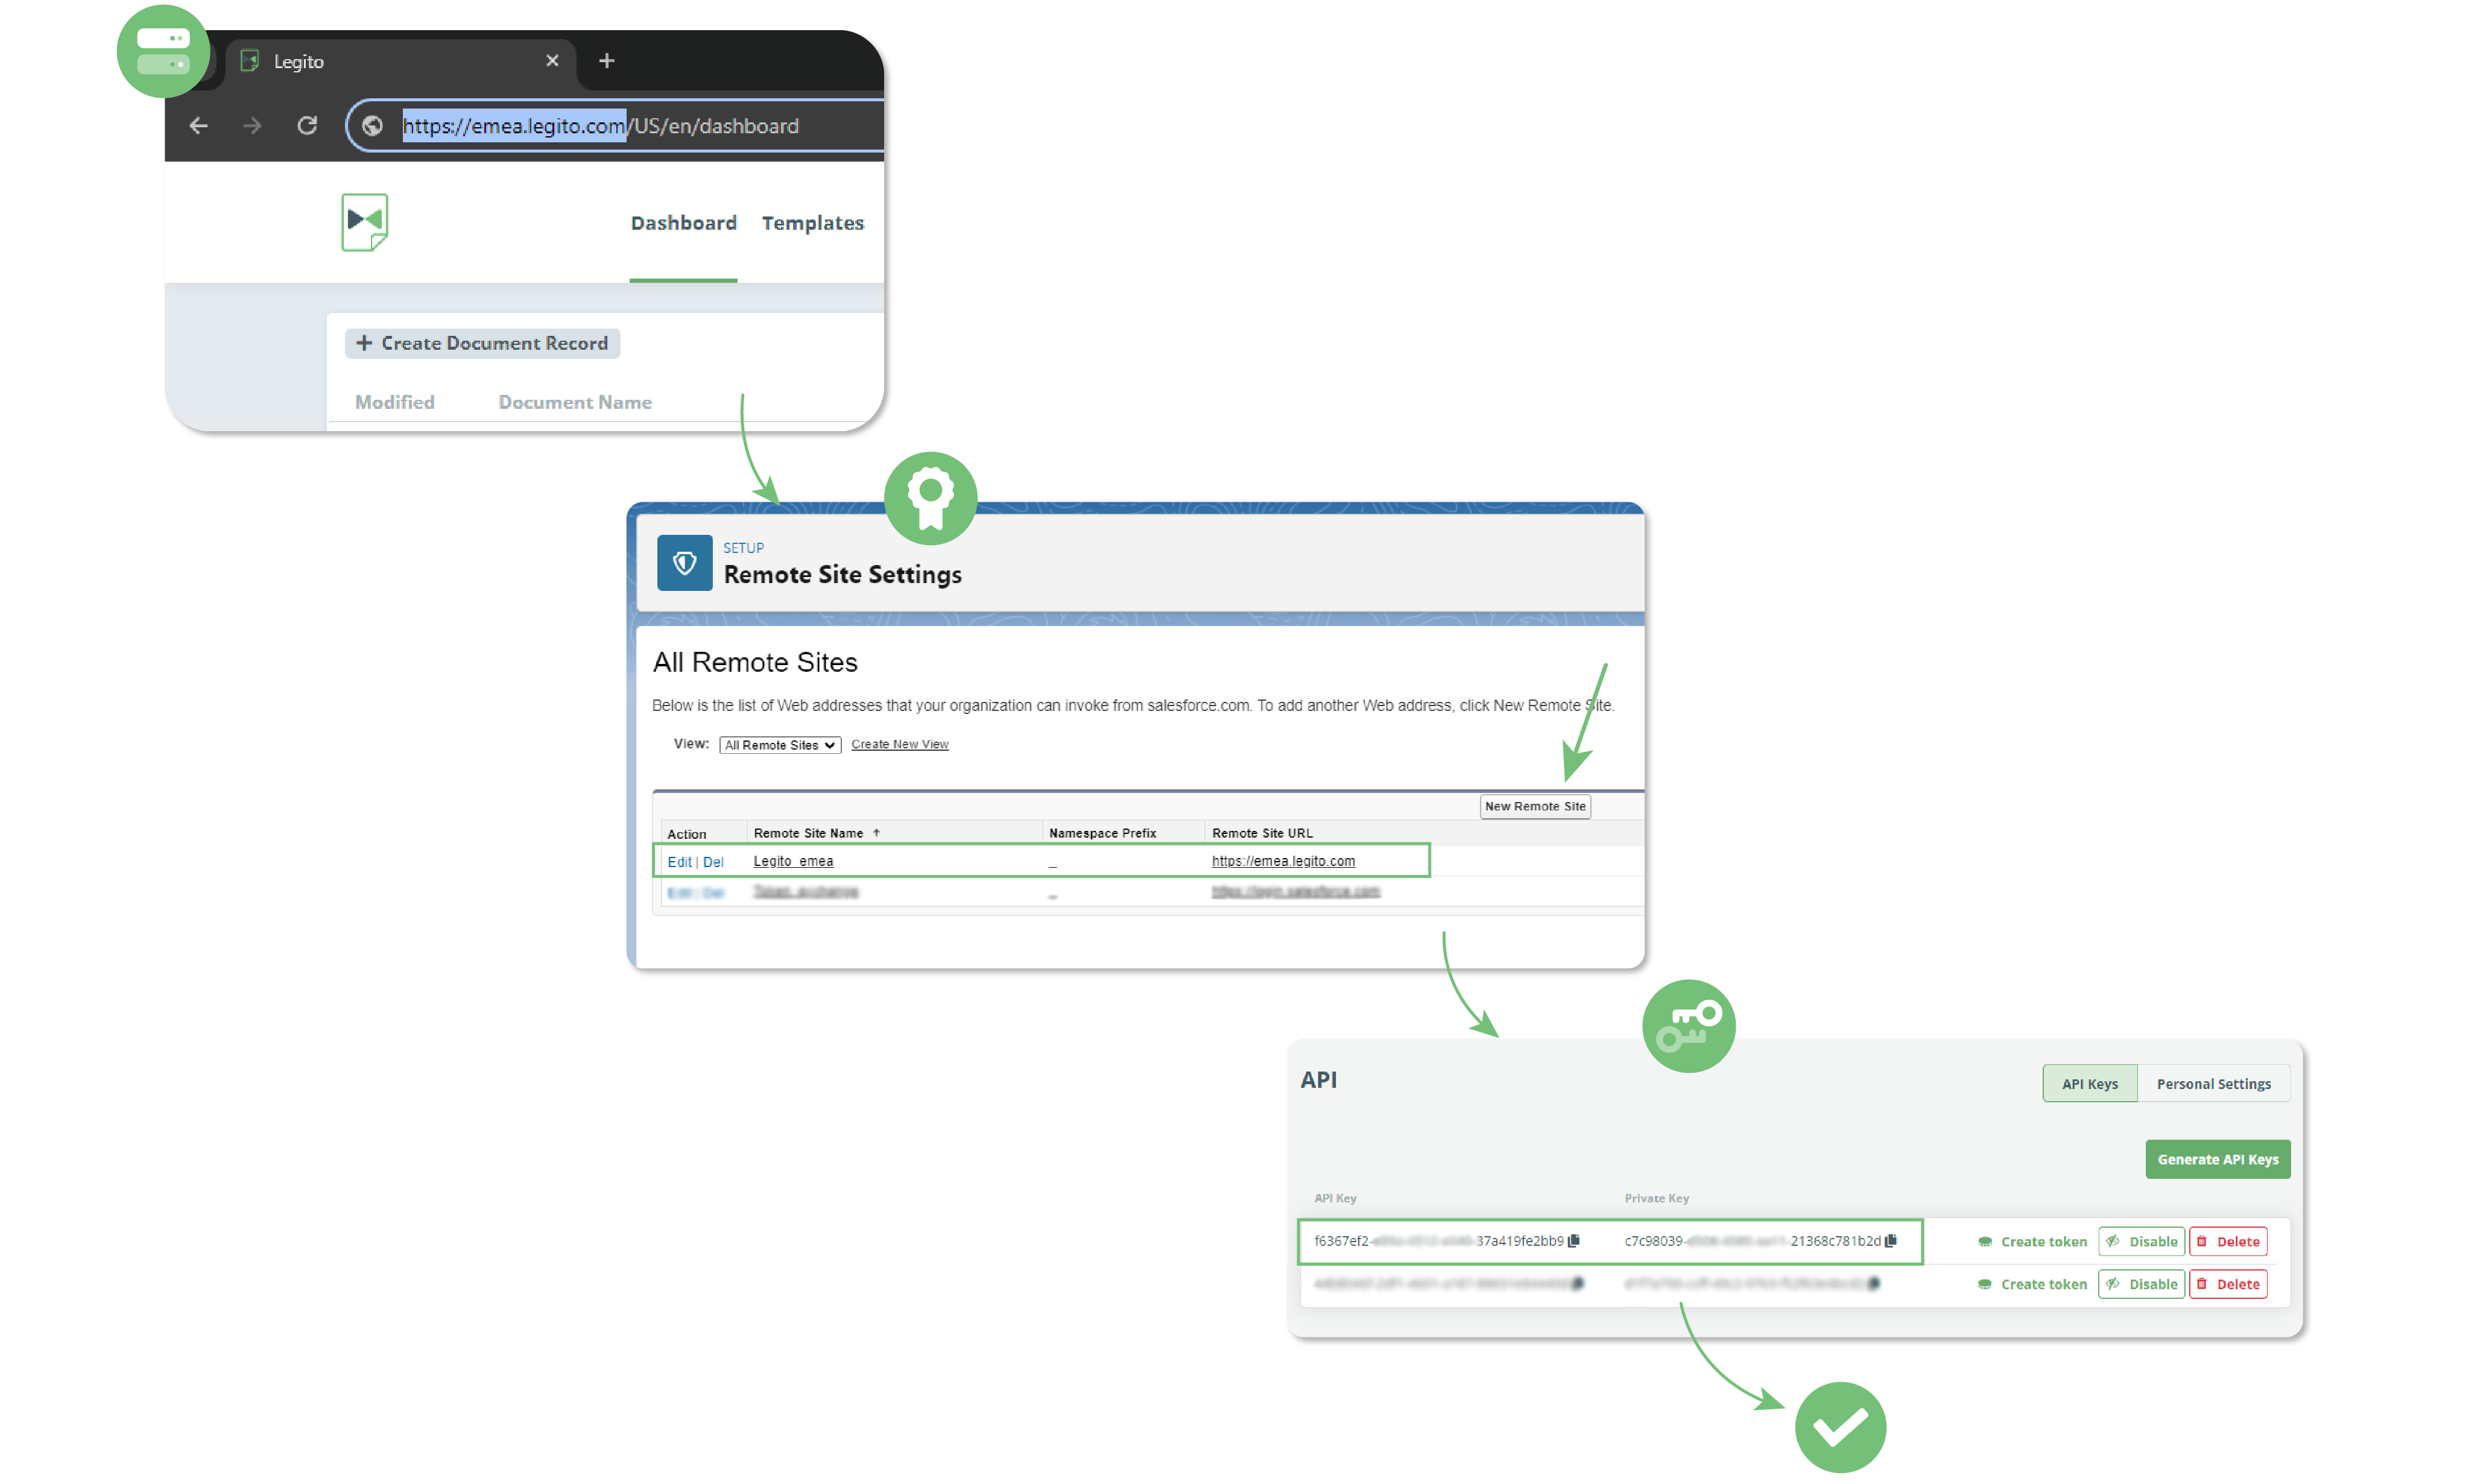
Open the Authentication tab and insert your Legito server location URL, for example, https://us.legito.com/ or https://emea.legito.com/.
Step 3: Add Legito to your Salesforce Remote Sites
Click on the Open Remote Site Settings button (or navigate via Setup → Security → Remote Site Settings), click the New Remote Site button, insert your server location URL again, and confirm.
Step 4: Insert Keys
Go to the API Keys section in your Legito Workspace, generate the API keys (learn more), go back to the Authentication tab of Legito Component in Salesforce, and insert both API Keys.
Optionally, you may verify if you made the three previous steps correctly by clicking on the Test Connection button.
Step 5: Build a Template in the Legito platform
Once your Salesforce settings are complete, open your Legito Workspace and automate your documents (learn more) if you haven’t already done so.
The Template Suite tab is purely informative. You can skip this if you are an experienced Legito user.
Step 6: Choose the mapping
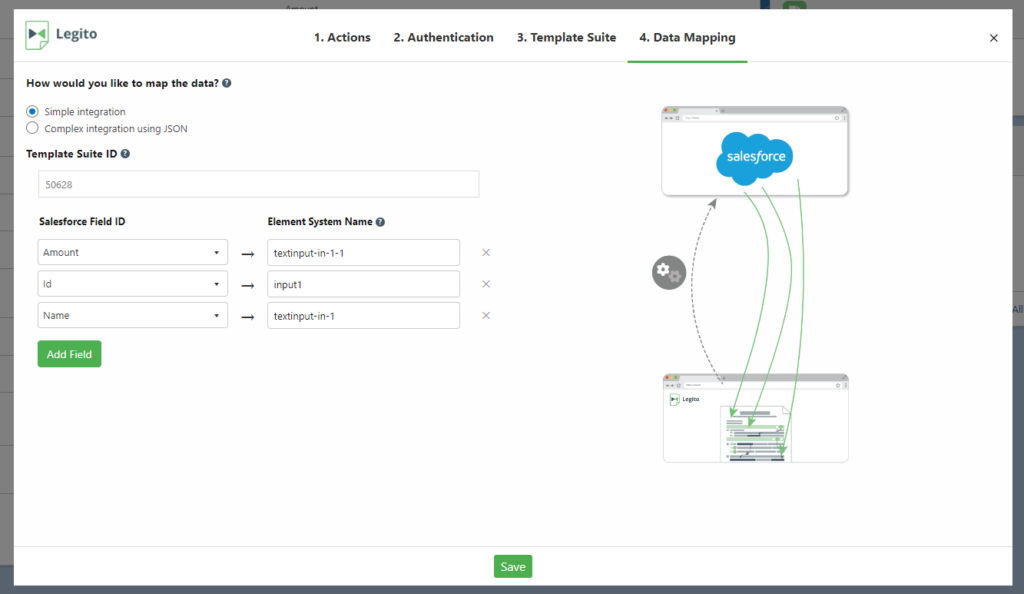
When your Template Suite is ready, open the Data Mapping tab and choose which mapping type you would like to use based on the complexity of your use case.
Step 7a: Simple integration (default option)
First, choose the Template Suite you want to generate documents from. To find Template Suite ID, open the Template Suite Administration area in your Legito Workspace and copy the number from the URL address.
Then choose which Salesforce fields are inserted in the Template inputs. Each Element in your Template that you would like to map must have a System Name.
Step 7b: Complex integration using a JSON file
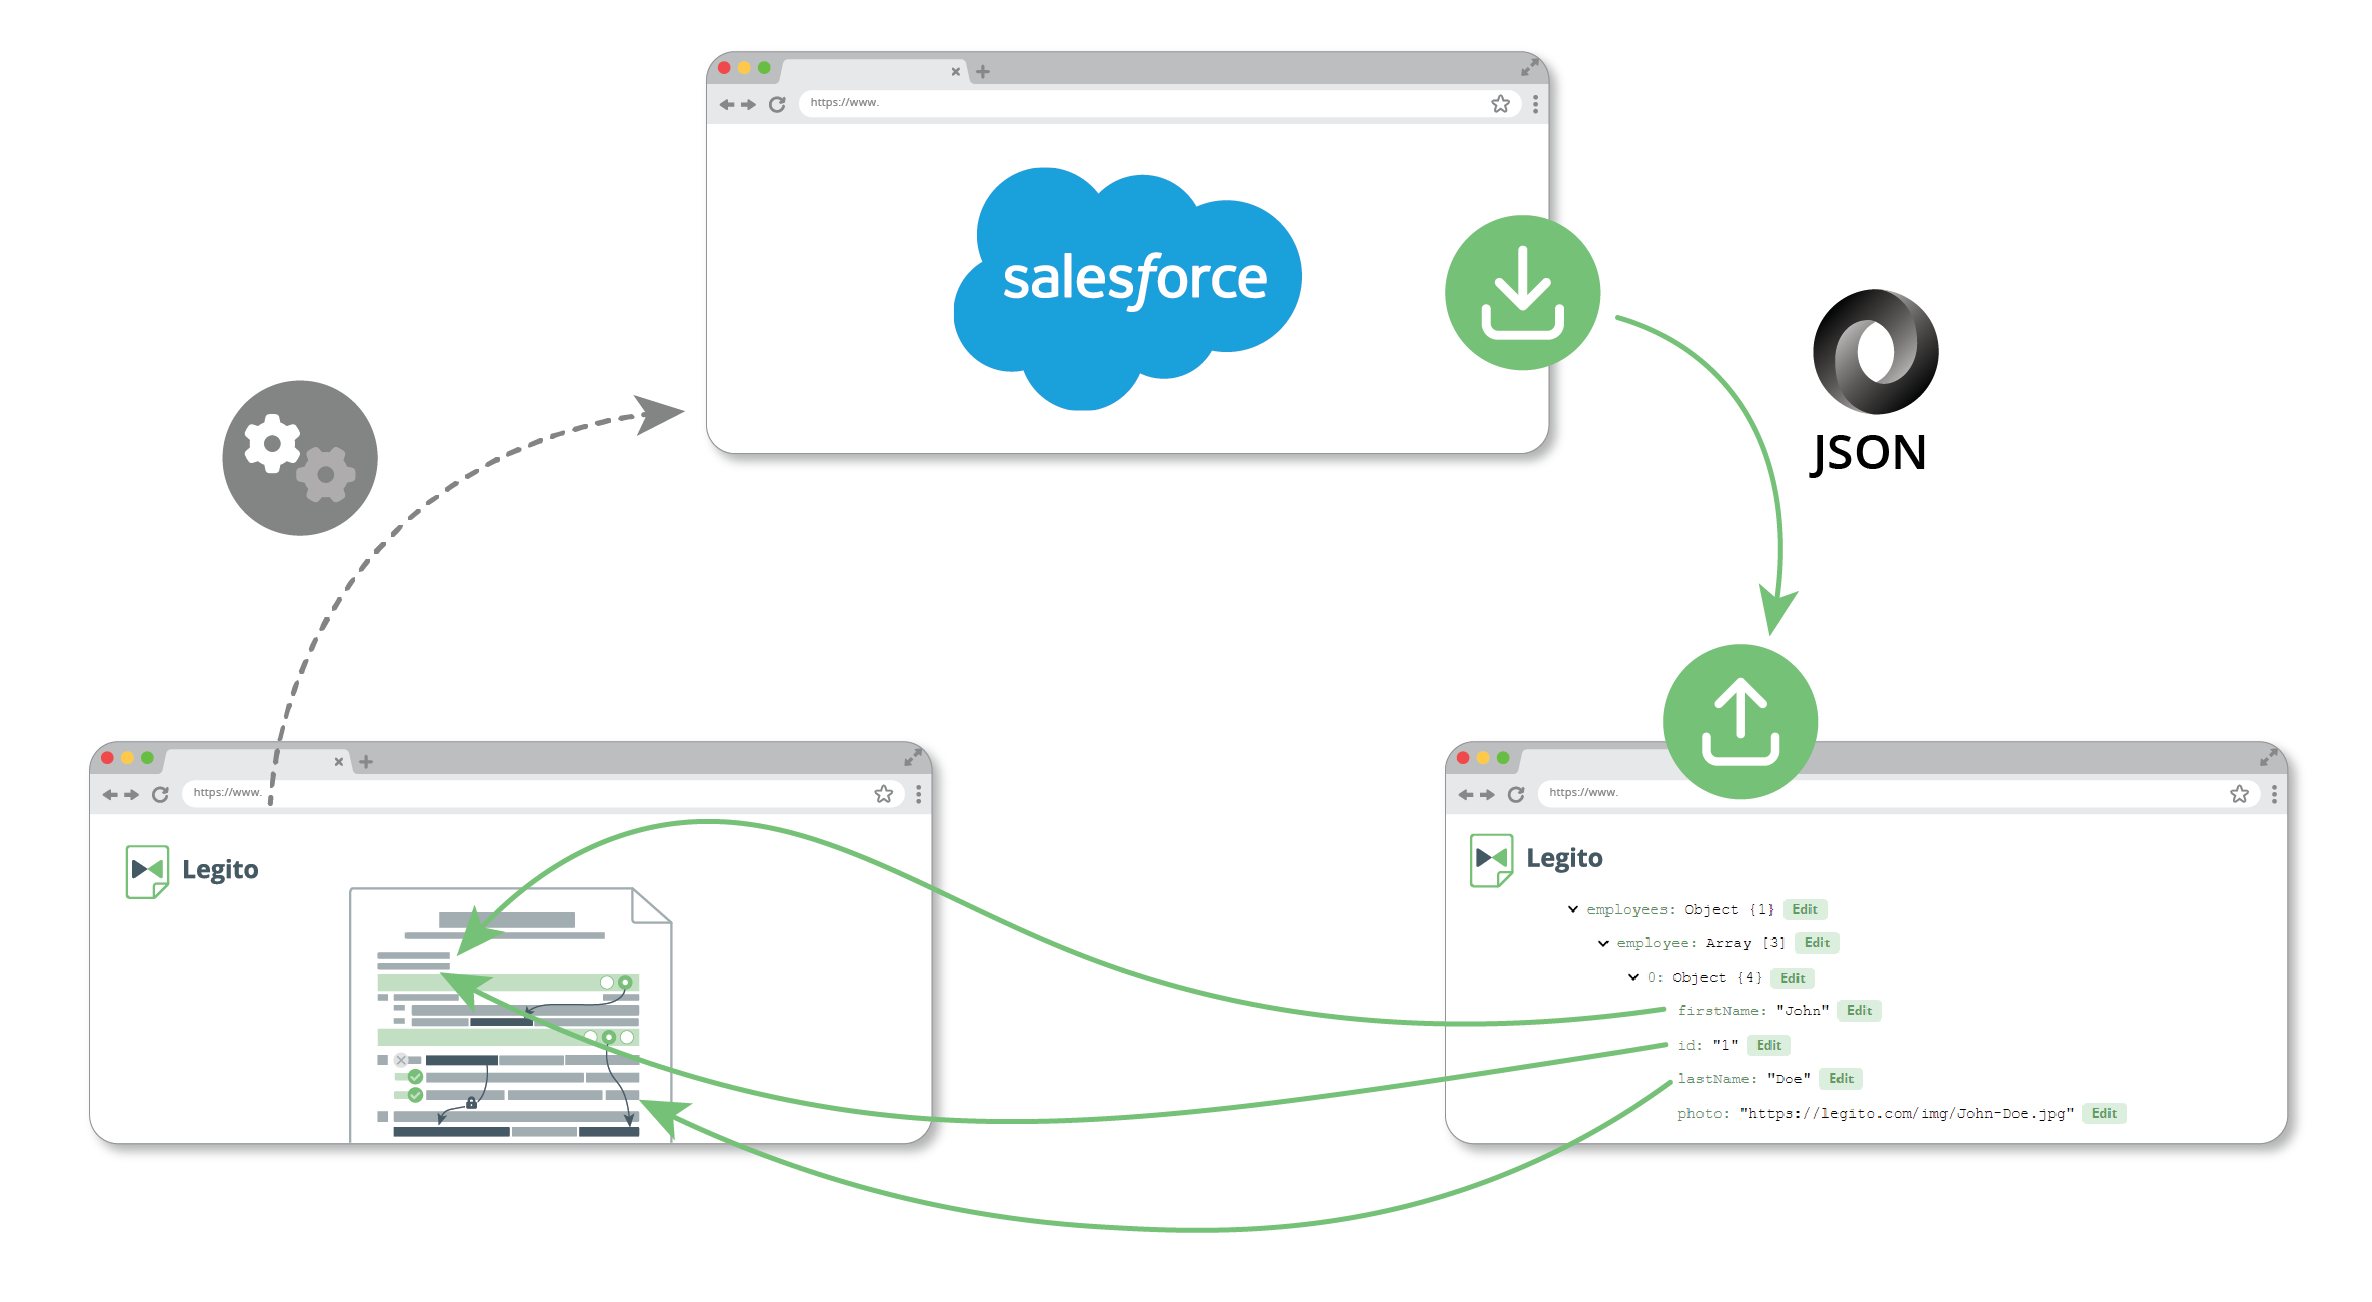
Click on the Complex integration using JSON option, and download the JSON file example which contains the data structure of the Salesforce Lightning Page being used to generate a document from the Template Suite.
Create a JSON Integration (learn more) in the Legito Workspace using the downloaded JSON file.
All logic regarding documents, e.g., which templates are used, which document clauses are added, removed, or modified, where data from Salesforce is populated in documents, is set in the Legito Workspace, all with no coding required. Logic does not need to be set in Salesforce.
Step 8: Generate your first Document
Close the Legito Component settings and click the Create Document button in the Legito Component on the Lightning Page.
The page is automatically refreshed. You should be able to find one or more documents in Notes & Attachments and/or link to the Legito document in the Legito Component.
Step 9: Metadata Mapping (optional)
It is possible to automatically populate data inserted into Legito Documents (learn more) and other Document Record details, such as Workflow Stage or Document Record Properties, into Salesforce fields.
Firstly, create a Connected App and get your Consumer Key and Consumer Secret:
Navigate to the SalesForce Setup and open the App Manager. Then create a New Connected App.
 Fill in the name and contact email address. After that, click on Enable OAuth Setting. Set the Callback URL to https://login.salesforce.com/ and select “Manage user data via APIs” and “Access Lightning applications” as OAuth Scopes. Let the rest of the settings be default and click on Save.
 After successfully creating the Connected App, click on Manage Consumer Details to see your Consumer Key and Consumer Secret to use in the next steps.
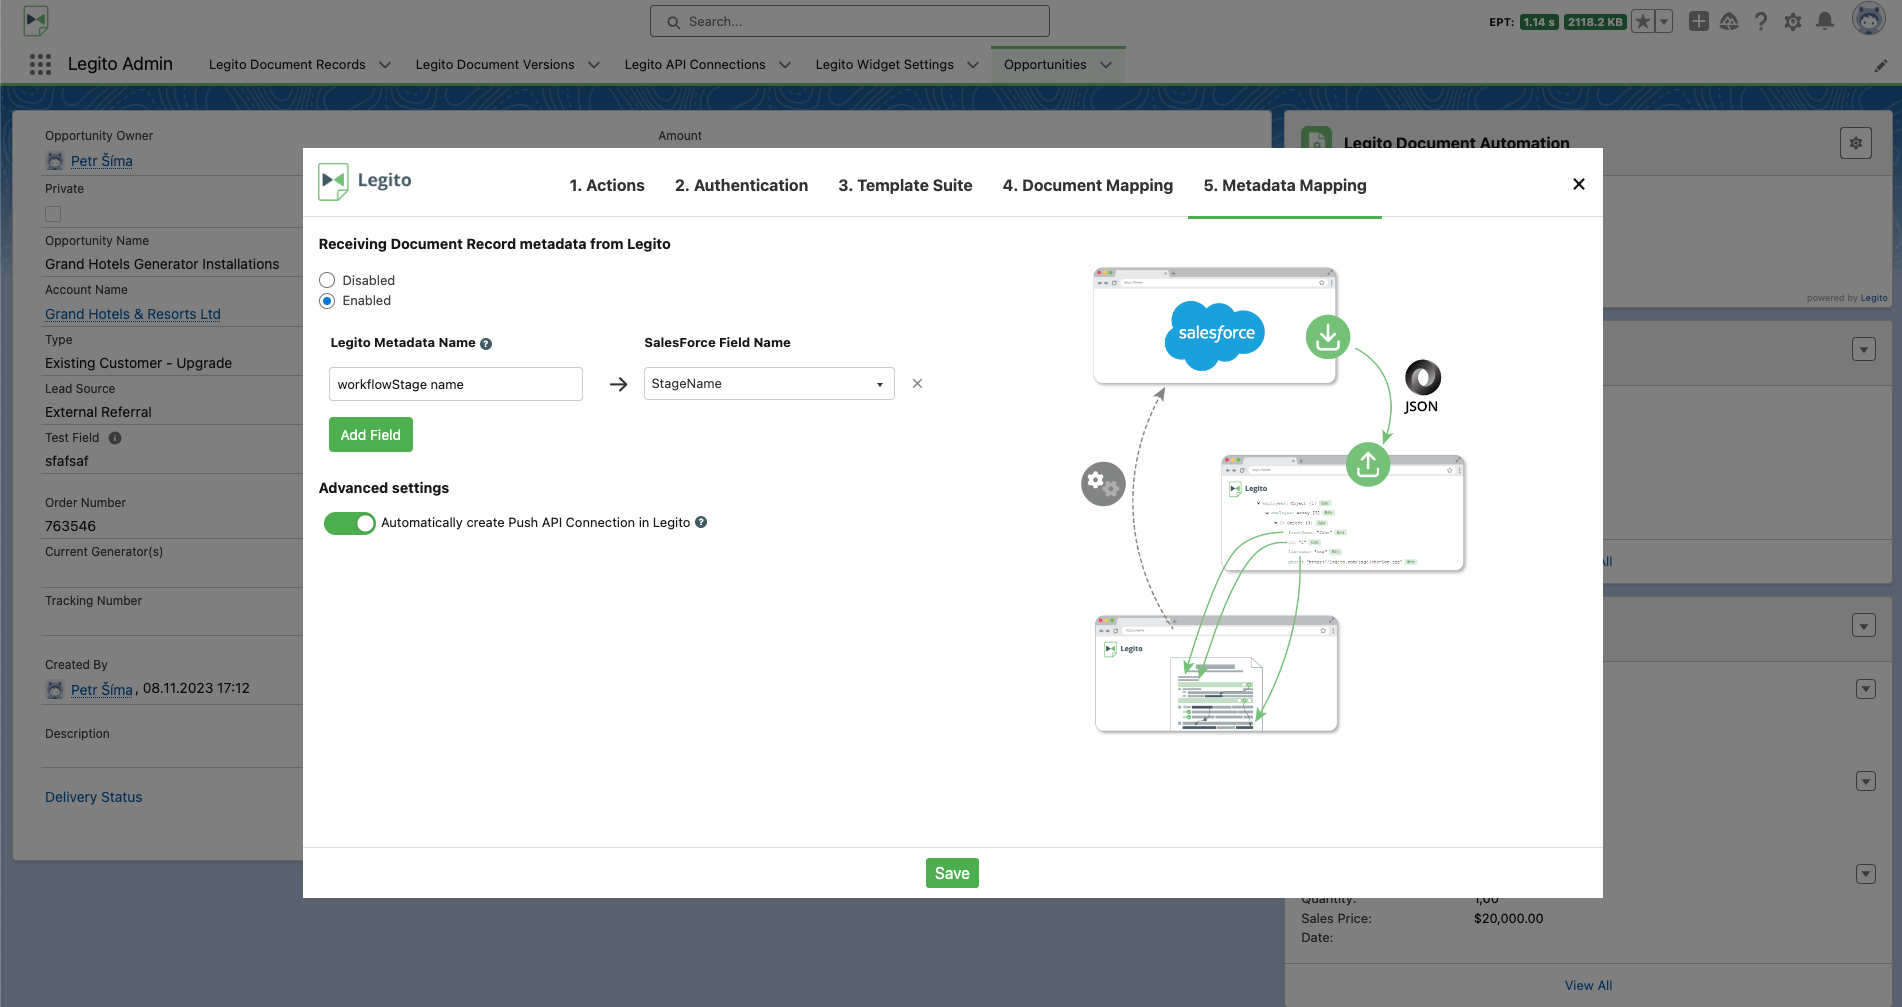
Secondly, open the Legito Widget and click on the Metadata Mapping tab. Enable Receiving Document Record Metadata from Legito, and save it.
Thirdly, open your Legito Workspace, go to the Push API section (learn more), edit the SalesForce Push Connection, and create new headers using the data obtained in the previous steps:
- Paste Consumer Key in clientId header
- Paste Consumer Secret in clientSecret header
- Insert your account’s email in the username header, and
- Combine your account’s password and token in the password header (without any spaces in between: PasswordToken)
Then save updated Push Connection settings.
Fourthly, go back to the Metadata Mapping tab of the Legito Widget in Salesforce, and map the values from the Push Connection to SalesForce fields. Use Name or System Name.
TIP: Use the Log tab of the Push API section (learn more) in your Legito Workspace to learn Names and System Names of attributes of the JSON.
Please note that only simple JSON attributes are supported.
Legito Add-on Administration Area
The Legito Add-on for Salesforce contains an Administration Area in addition to the core Legito Component.
There is no need to use the Administration Area to make the Legito Component work.
The purpose of the Administration Area is to provide Salesforce admins with the available data in the Legito Workspace for further usage in more complex integrations between Legito and Salesforce.
The Administration Area is only available to Salesforce admins.
